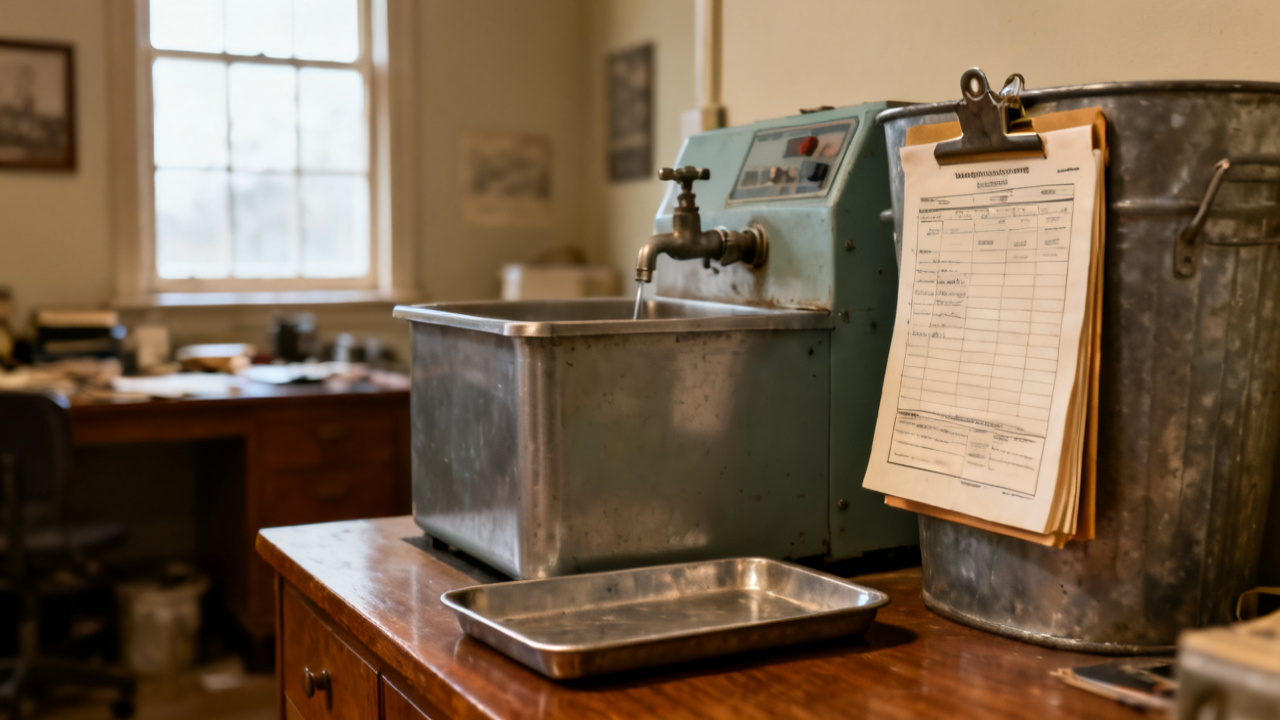
The traveler lists operations in order. You are standing at one machine. You hold the crumpled, smudged sheet in your grease-streaked left hand, finger hovering over the third operation line that references your 3-axis CNC mill. The lot of 42 6061 aluminum blanks sits in the wire bin to your right, each already deburred from the previous band saw operation. You don’t need to flip to any other sheet for this step, since all parameters you need for your station are printed right here on this side.
Lot number cross-check steps
This step takes less than two minutes, but prevents running the wrong material or following the wrong sequence for a different lot, which can waste hours of shop time and hundreds of dollars in material. Follow these steps in order before you make any changes to your machine setup:
- Match the 7-digit lot number printed in the top right corner of this sheet to the laser-etched lot marker on the side of the blank bin, confirming you are working with the correct material for the listed operations. If the numbers do not match, do not start the run, and set the bin aside to locate the matching traveler for the lot.
- Count the number of blanks in the bin against the quantity listed on the first line of the operation sequence, noting any missing or extra parts directly in the blank margin next to the quantity field. You do not need to notify a lead for discrepancies of one part or less, but larger discrepancies require a quick check-in with the production coordinator before you begin.
- Confirm the previous operation’s sign-off is present and dated, with no red flagged notes that indicate unfinished work or defects that require resolution before you begin your run. If you see a red flag, follow the instructions written next to it before making any machine setup changes.
- Cross-reference the operation number listed next to your machine type on this sheet to the order in the full sequence, making sure no prior operations that require access to surfaces you will machine are listed after your step. If you notice a sequence error, mark it with a highlighter in the margin before moving to setup.
Matched operation parameters for your current station
The full operation sequence exists to track the lot’s flow across the entire shop, but you only need to focus on the lines associated with your machine for this step. You do not need to adjust your work to match the timing or requirements of other steps listed on the sheet, as those are managed by the production scheduling team. All parameters you need for your run are listed directly below your operation number, including spindle speed, feed rate, tool number, coolant mix ratio, and per-pass cut depth. Illustrative example: the listed 12,000 RPM spindle speed is calibrated for your specific 2021 mill model, so you do not need to adjust it to match the 9,500 RPM speed listed for the same operation on the older 2012 mill across the shop floor. You can reference the small diagram printed next to the parameters to confirm the orientation of the blank in the fixture, so you do not machine the wrong surface or drill holes in the wrong location. If any parameter is smudged or unreadable, you can cross-reference it with the digital copy stored on the shop server, but you must note the missing value on this sheet once you confirm it, so the next operator does not run into the same issue.
Deviation tracking for minor run adjustments
It is normal to make small adjustments to your machine setup mid-run to account for tool wear, material variation, or minor fixture shift, but you must track all of these adjustments directly on this sheet, not on scrap paper or a separate digital note. Write all adjustments in the right margin next to the parameter you changed, including the number of parts you ran before making the change, the exact value of the adjustment, and the time you made it. For adjustments smaller than 0.005 inches on any axis, you can continue the run without pausing for a quality check, but you should pull the first part after the adjustment to measure it for accuracy before running the rest of the lot. For adjustments larger than 0.005 inches, mark the adjustment with a small asterisk, and call the quality technician over to approve the first adjusted part before you proceed. You do not need to document trivial adjustments like minor coolant flow changes, but any change that affects the final dimension of the part must be noted for downstream teams.
Sign-off requirements for work completed at this machine
Once you finish running all parts in the lot, you must complete three quick checks before you sign off on your operation. First, deburr any sharp edges left from your machining step, as loose burrs can damage fixtures in downstream operations or cause injury to the next operator handling the parts. Second, pull 3 random parts from the completed lot and measure them against the dimensional callouts listed for your operation on this sheet, to confirm all parts are within the allowed tolerance range. Third, count the number of completed, rejected, and scrapped parts, and note those counts next to your operation line. Once those checks are complete, sign and date the line next to your operation number to indicate you have finished all work required at your station. If you have to pause mid-run for a shift change or scheduled machine maintenance, note the exact number of completed parts in the margin, and leave the sheet clipped to the machine control panel so the next operator picking up the lot knows exactly where to start. Never sign off on an operation you did not complete, even if you are sure the next operator will finish the run quickly.
Handoff notes for the next operation in the sequence
Before you move the lot to the staging area for the next step, you must write any relevant notes for the next operator directly on this sheet, so they have all context they need without having to track you down for questions. If you made any adjustments that affect downstream steps, like widening a keyway by 0.001 inches to account for unexpected tool wear, note that clearly so the grinding team can adjust their fixture setup accordingly. If you have any parts that are borderline within tolerance but passed your quick check, mark those parts with a small blue paint dot, and note the number of dotted parts on this sheet so the final inspection team can give them extra scrutiny. If you encountered any unexpected issues during the run, like recurring chatter that you could not eliminate with speed or feed adjustments, note that as well, so the next team can watch for related defects like warpage or dimensional inconsistency. Once you finish writing your notes, place this sheet on top of the wire bin of completed parts, and move the bin to the marked staging area for the next operation in the sequence, making sure the lot number is facing out so the next operator can find it quickly. If you identify a sequence mismatch that you cannot resolve on your own, flag the sheet with a pink sticky note and leave it at the Traveler Desk for the production lead to review before the lot moves forward.
Next visit to this sheet for post-heat-treat verification
You will pull this exact same sheet back out once the lot returns from the off-site heat treat facility, before you run the secondary finish grinding operation on the same mill. At that point, you will first reference the notes you wrote during this first run to adjust your fixture setup, accounting for any deviations you tracked earlier to make sure you do not remove too much material during the grinding step. You will cross-check the number of parts returned from heat treat against the number you noted on this sheet when you handed off the lot, to confirm no parts were lost during transit. You will also pull the first part from the lot to measure for heat treat warpage, comparing it to the dimensions you recorded during your initial run to make sure the warpage is within the expected range. You will follow the same cross-check steps you used today to confirm you are working with the correct lot, that all prior operations are complete, and that you have the right parameters for the grinding step before you begin the new run. Any adjustments you make during the grinding run will be noted on the same blank margin space you used for your initial run notes, so all context for the lot’s entire production cycle is stored in one place. You do not need to add a new cover sheet or separate notes for the second run, as all information stays linked to this single document through final inspection.